

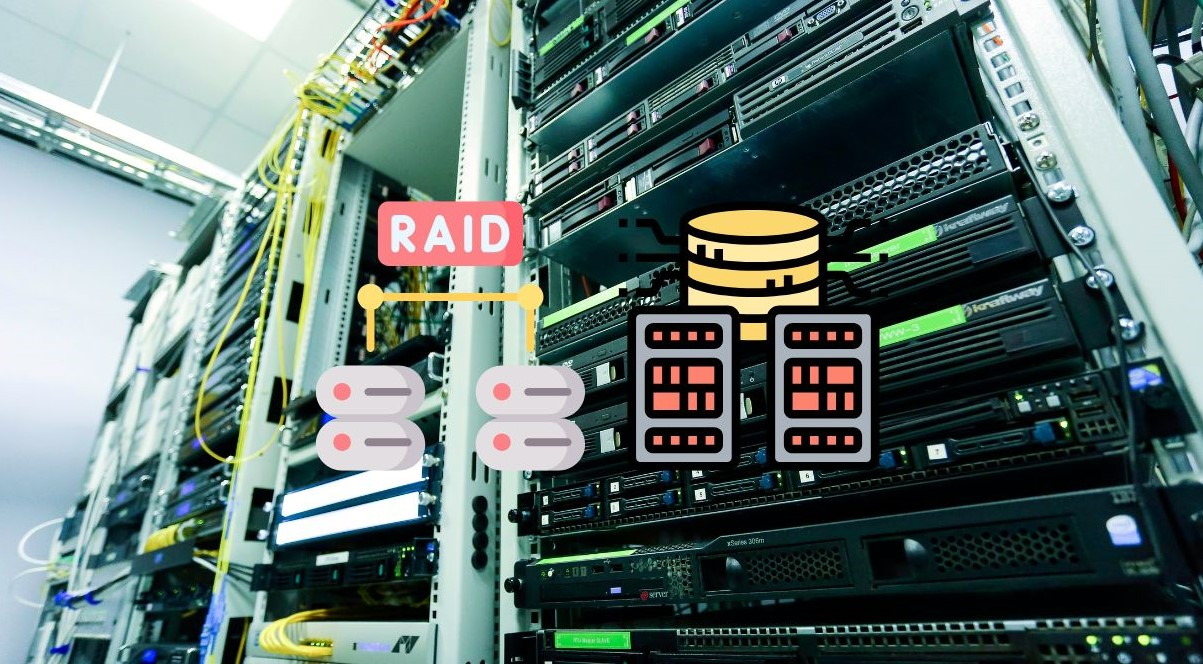
When it comes to protecting your data, RAID 1 is a popular choice. By mirroring data across two drives, it offers a safety net if one disk fails. But even with this built-in redundancy, things can still go wrong — and that’s where RAID 1 recovery becomes essential.
In this article, we’ll break down when you might need RAID 1 recovery, the best tools to use, and smart tips to help you avoid data loss.
When You Might Need RAID 1 Recovery
RAID 1 is designed to survive a single drive failure. However, not every issue stems from hardware. Common RAID 1 recovery scenarios include:
- A failed or failing drive.
- File system corruption (e.g., due to improper shutdowns or software errors).
- Accidental deletion or formatting.
- Controller or firmware failure.
- Power surges or electrical damage affecting drive integrity.
In many of these cases, one drive might still be healthy — and that can give you a window for safe recovery.
Safety First: Initial Recovery Precautions
Before diving into any recovery process, take the following precautions:
- Stop using the RAID array immediately. Continued writes can overwrite recoverable data.
- Label your drives. Identify which one appears healthy and which might be faulty.
- Create full disk images. Use tools like Clonezilla, dd, or ddrescue to clone each drive. Always recover from the images — not the originals.
- Avoid rebuilding the array. A rebuild using the wrong disk can overwrite good data with bad sectors.
- Keep a clean workspace. Don’t connect both drives back into a RAID controller until you’re sure it’s safe.
Top Tools for RAID 1 Recovery
Several recovery tools are well-suited for RAID 1 data extraction. Here are some of the most reliable options available:
1. DiskInternals RAID Recovery
DiskInternals RAID Recovery is a specialized tool designed to reconstruct and recover data from RAID arrays, including RAID 1. It can automatically detect array parameters, read damaged or inaccessible disks, and supports both physical and virtual RAID setups. It also allows recovery from disk images, making it a safe choice for working from clones instead of original drives.
2. R-Studio
A powerful and professional-grade recovery solution with strong support for RAID configurations. It supports disk imaging, virtual RAID reconstruction, and deep file system analysis. Compatible with Windows, macOS, and Linux.
3. UFS Explorer
Well-regarded for its RAID recovery capabilities, UFS Explorer supports damaged file systems and can rebuild virtual RAID structures. It works with both physical drives and disk images, offering flexibility for advanced users.
4. ReclaiMe Free RAID Recovery
A helpful analysis tool for identifying RAID parameters. It doesn’t perform file recovery itself but works in tandem with other recovery software like R-Studio or UFS Explorer to reconstruct the RAID layout.
5. EaseUS Data Recovery Wizard
Known for its ease of use, this tool is ideal for basic recovery scenarios. It supports some RAID setups and provides a simple interface for previewing and recovering files.
6. TestDisk & PhotoRec
These open-source utilities are best suited for experienced users. TestDisk is effective for partition recovery, while PhotoRec excels at raw file recovery. They’re not RAID-specific but can be used to recover data from individual RAID 1 member drives.
Software-Free Recovery Tips (Manual Methods)
In some cases, recovery may not even require dedicated software:
- If one disk is healthy, mount it as a standalone drive on another system.
- On Linux, drives with ext-based file systems (ext3, ext4) can be mounted directly.
- Use native tools like mdadm –examine to analyze metadata.
- On Windows, third-party drivers may be needed to read Linux file systems.
If the good drive is readable, you can manually copy the data to another location.
RAID 1 Recovery Process (Overview)
Here’s a simplified step-by-step:
- Disconnect both drives and label them.
- Create full byte-for-byte images of both disks.
- Use analysis tools (like ReclaiMe) to detect the RAID structure.
- Load the images into your recovery software of choice.
- Scan for partitions and file systems.
- Preview and recover data to a separate storage device.
- Once recovery is verified, rebuild the RAID if needed.
For a more in-depth walkthrough, check out this detailed guide on RAID 1 recovery.
Common Mistakes to Avoid
- Rebuilding before recovery: Can overwrite good data.
- Writing recovered data to a RAID drive: Always recover to a separate destination.
- Skipping disk imaging: Increases risk of damaging original data.
- Assuming which drive is bad: Misidentifying the healthy disk can lead to permanent loss.
When to Call a Professional
Professional recovery services are recommended if:
- Both drives fail or show signs of hardware damage.
- You hear unusual clicking or grinding sounds.
- Recovery tools cannot detect partitions or data.
- The RAID controller is proprietary or malfunctioning.
- Data is business-critical or irreplaceable.
Attempting DIY fixes in high-risk situations can reduce the chance of successful recovery.
What You Should Remember
RAID 1 is a reliable data protection solution, but it’s not invincible. When failure strikes, having a structured plan and the right tools makes all the difference. Whether you’re using recovery software or attempting a manual method, remember: safety comes first. Clone your drives, recover from images, and avoid rebuilds until your data is safe.
With caution and the right approach, RAID 1 recovery can be a smooth and successful process.


