

Drywall installation is a significant home improvement project that can drastically transform the look and feel of your Las Vegas home. While the professionals handle the technical aspects, homeowners play a crucial role in preparing their space for this process. This guide will walk you through the essential steps to ensure a smooth and efficient drywall installation.
Understanding the Drywall Installation Process
To effectively prepare for your drywall project, it’s essential to have a basic understanding of the entire process. Drywall installation typically involves several key stages.
Preparation is the initial phase where you play a crucial role. This involves clearing the room of furniture and belongings, protecting remaining items with drop cloths or plastic sheeting, and coordinating schedules with the drywall contractors.
Once the area is prepared, framing begins. This is the structural backbone of your walls, constructed using wood or metal studs. After the framework is in place, the hanging process starts. Drywall sheets, large panels made of gypsum, are attached to the framing using screws or nails.
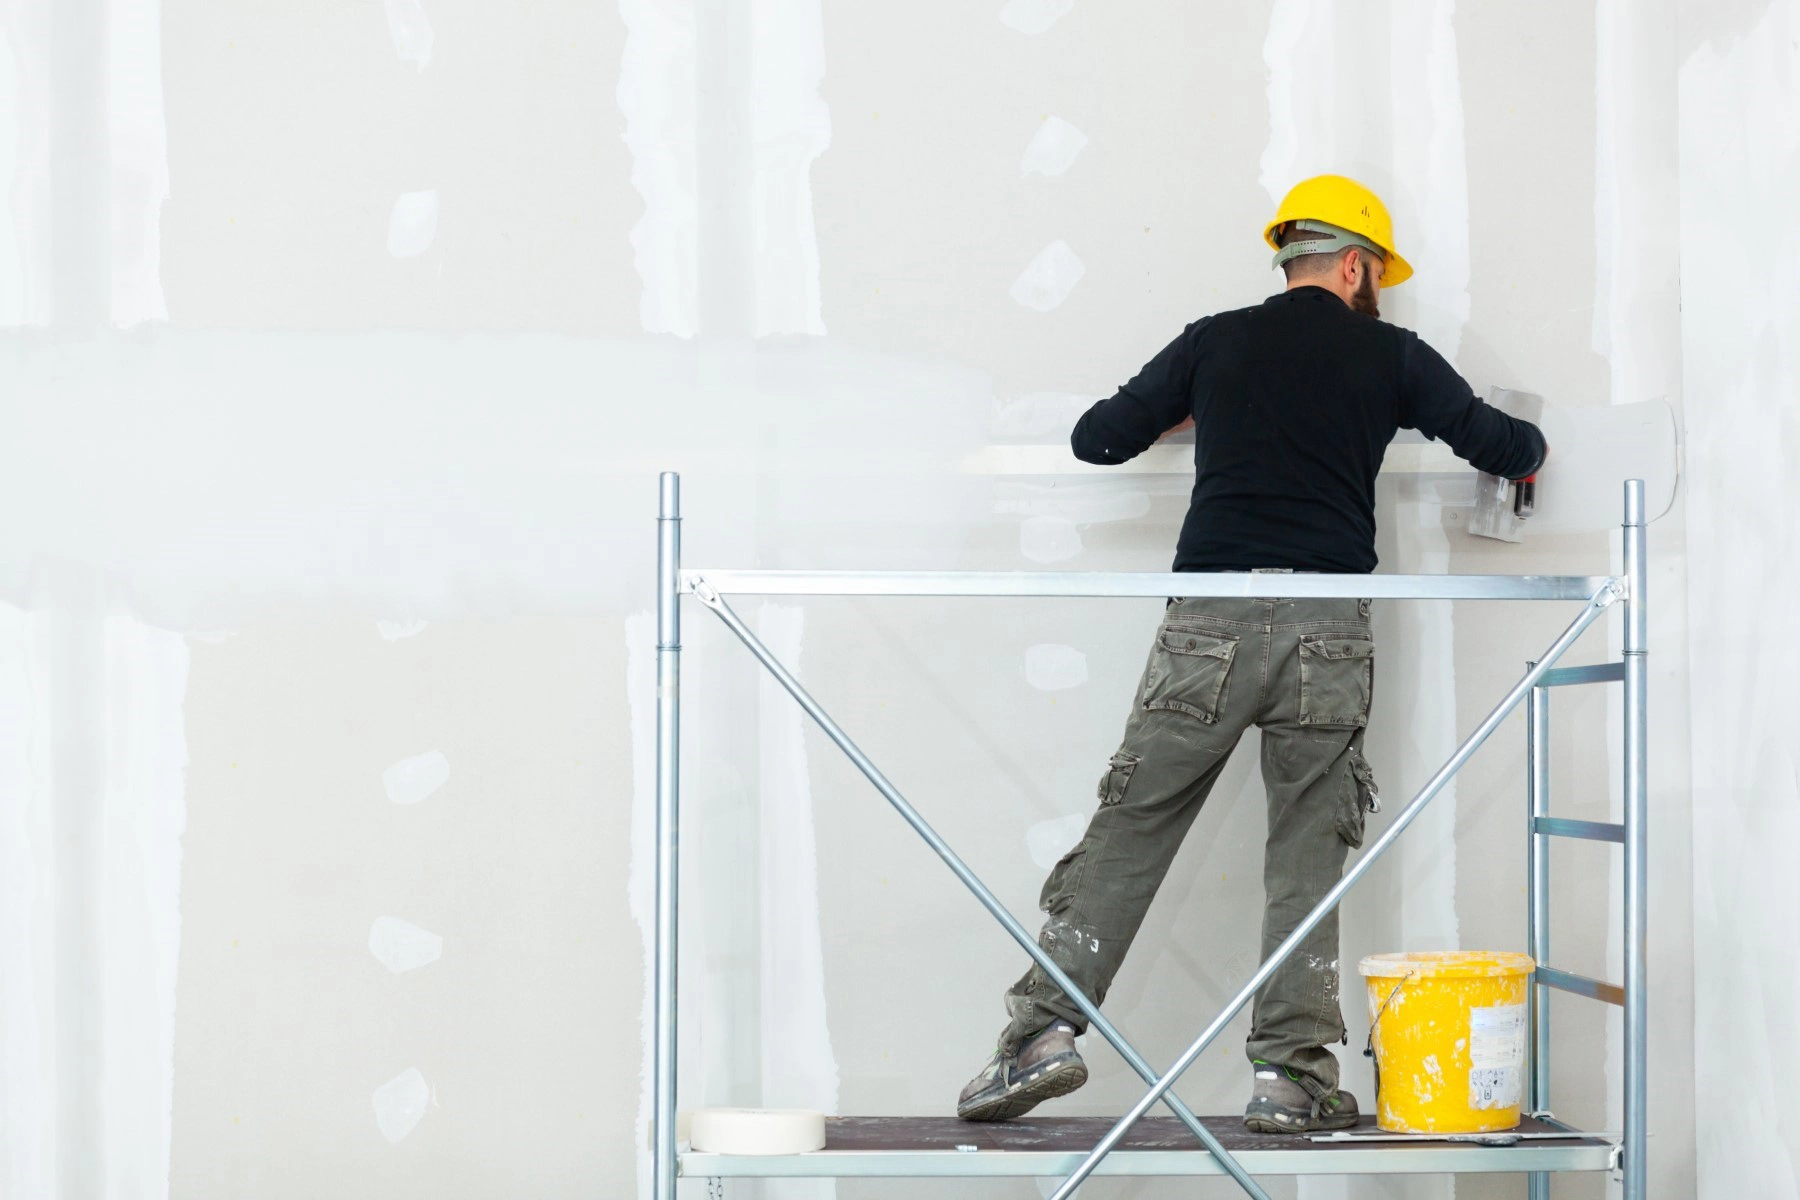
To create a smooth, seamless surface, taping and mudding are essential. This involves covering the joints between drywall panels with tape and then applying joint compound, commonly known as mud, to create a flat surface. The final steps, texturing and painting, transform the drywalled surface into your desired finish, whether it’s a smooth, flat look or a textured style.
Step-by-Step Preparation Guide
1. Clear the Area
The first step is to declutter the rooms where drywall installation will take place. Remove all furniture, rugs, curtains, and wall hangings. This includes items on shelves and countertops. The more open space you can create, the easier it will be for contractors to work efficiently.
- Tip: If you have large or heavy items that are difficult to move, consider covering them with drop cloths or plastic sheeting to protect them from dust and debris.
2. Protect Your Belongings
Even after clearing the room, there might be items you can’t move, such as built-in cabinets or appliances. It’s essential to protect these items from damage during the installation process.
- Cover furniture: If you’re unable to move furniture out of the room entirely, cover it with drop cloths or plastic sheeting. Secure the covers with tape to prevent them from shifting.
- Protect floors: Cover your floors with thick plastic sheeting to safeguard them from paint spills, drywall dust, and foot traffic.
- Ventilation: Open windows and doors for better ventilation to reduce dust buildup.
3. Prepare the Walls
While the contractors will handle most of the wall preparation, there are a few things you can do to assist:
- Remove old wallpaper: If you have wallpaper, remove it completely before the drywall installation. Wallpaper can interfere with the adhesion of the drywall compound.
- Patch holes: Fill any large holes or cracks in the walls with spackle or patching compound. This will create a smoother surface for the drywall.
4. Communicate with Your Contractor
Effective communication with your drywall contractor Las Vegas is key to a successful project. Discuss the following:
- Scope of work: Clearly outline the areas where drywall will be installed.
- Timeline: Agree on a start and end date for the project.
- Access: Determine how the contractors will access your home, especially if it involves special arrangements like keyboxes or alarm codes.
- Preferences: Share your preferences for drywall texture, type, and any specific requirements.
- Clean-up: Discuss the contractor’s cleanup procedures and responsibilities.
5. Additional Tips
- Take photos: Document the condition of your home before the project starts. This can be helpful in case there are disputes.
- Consider temporary storage: If you have a lot of items to store, consider renting a storage unit or using a storage facility.
- Plan ahead: Start preparing your home well in advance of the drywall installation to avoid last-minute stress.
By following these steps, you can significantly contribute to a smooth and successful drywall installation project. A well-prepared home will not only make the process easier for the contractors but also help protect your belongings and minimize disruption to your daily life.
Remember: While this guide provides general advice, it’s always best to consult with your specific drywall contractor for tailored recommendations based on your project’s unique requirements.
Conclusion
Preparing your Las Vegas home for a drywall installation might seem daunting, but with careful planning and organization, it can be a smooth process. By following these steps, you’ll create a workspace that’s conducive to efficient installation and protect your valuable belongings from potential damage.
Remember, effective communication with your drywall company Las Vegas is essential. Clearly outlining your expectations, sharing preferences, and understanding their process will contribute to a successful project. With a well-prepared space and a skilled contractor, you’re well on your way to transforming your home with fresh, new drywall.


